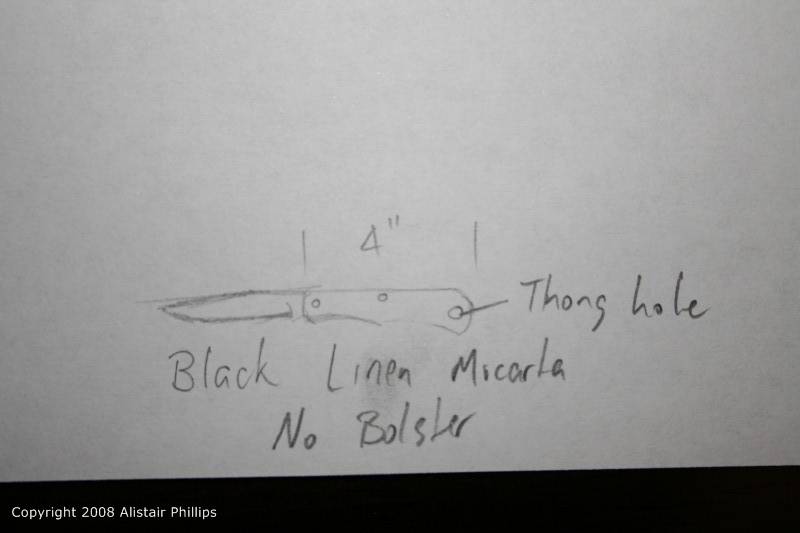
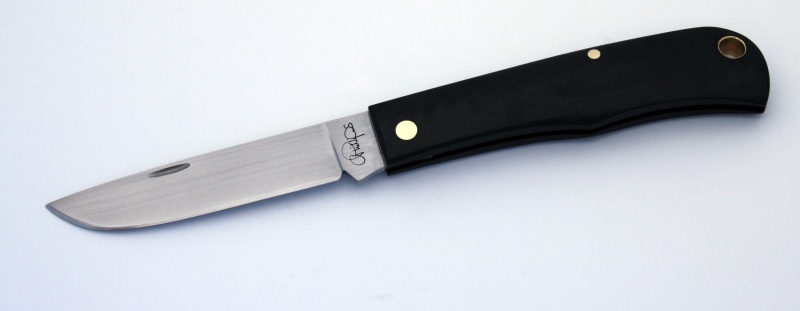
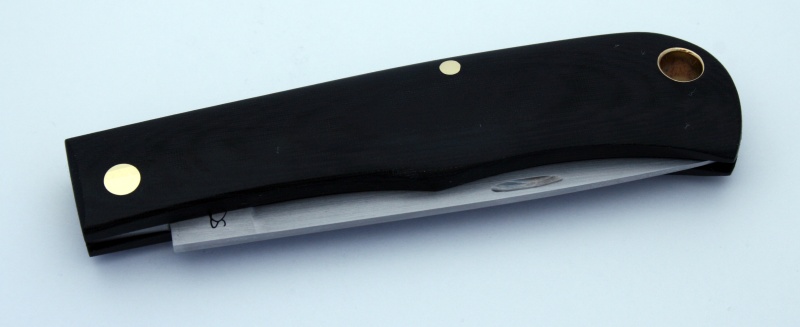
After posted a few pictures of my first slipjoint folding knife on the internet a few people asked how I designed it so I thought I would put together a short tutorial on how I went about the process.
The very first thing to do is to come up with a concept of what type of knife you want to make. Some questions to ask yourself are:
- How big will the knife be?
- What will it be used for?
- What materials will it be made of?
For the knife I will be designing in this tutorial I was inspired by a Reese Bose Shadow pattern construction folder. I was thinking a longer knife than my first one that would be ideal for cutting fruit. I was thinking a precision ground O1 stell blade and spring, brass liners and pins and a linen micarta handle. I was also thinking it would be useful to incorporate a thong hole tube in the knife design. If you aren't confident in your knifemaking skills I would recommend the KISS principle (Keep It Simple Stupid) when building you knife.
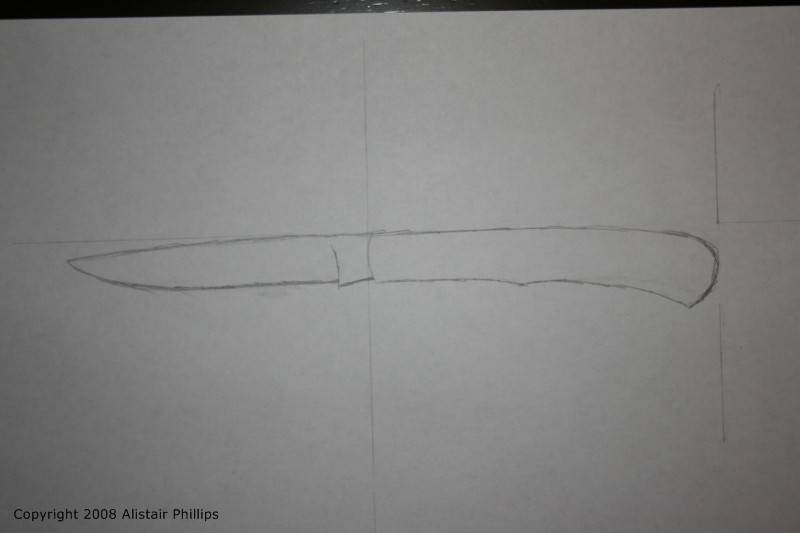
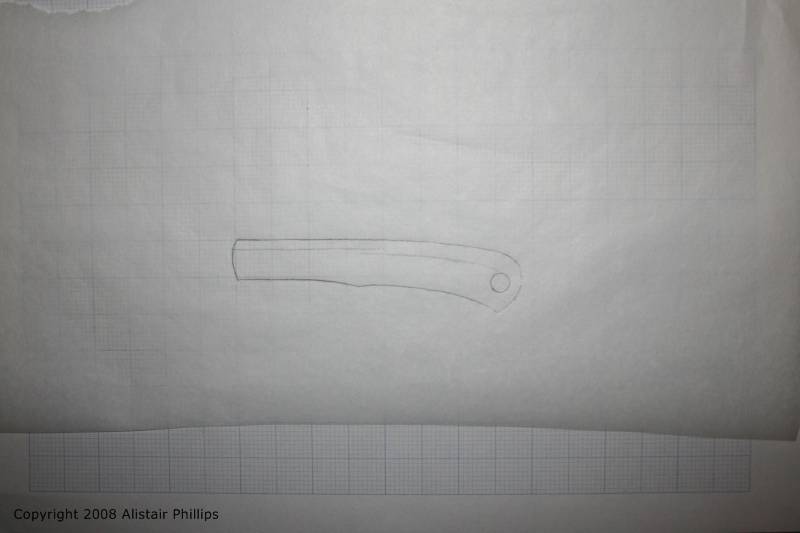
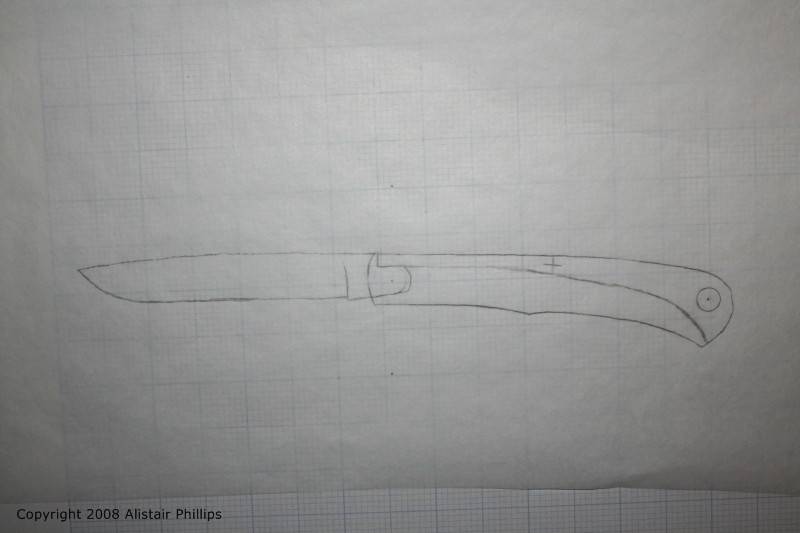
From my simple thumbnail idea I have sketched a full sized version of the knife with the aid of a few lines for dimensions. I would really recommend not using graph paper to it do this on. The idea at this stage is to get a feel for the flow of the knife and to let your ideas come out freely. I find it hard to do this when all the grid lines are in the way.
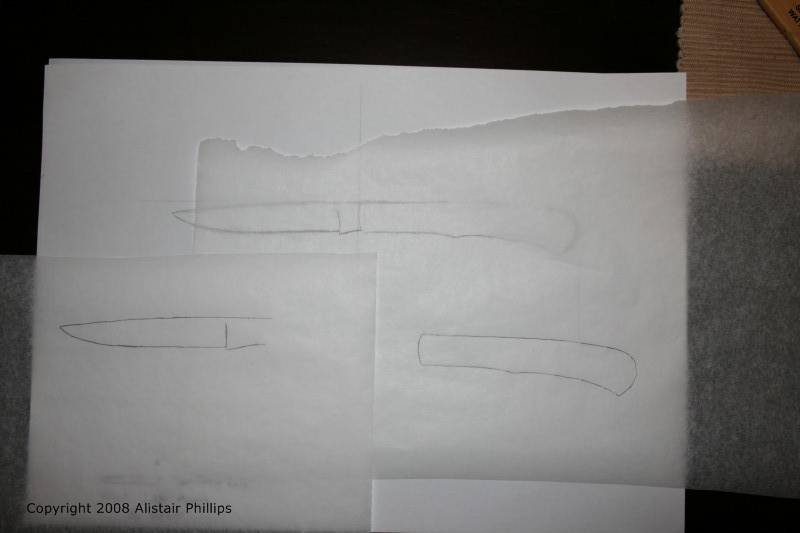
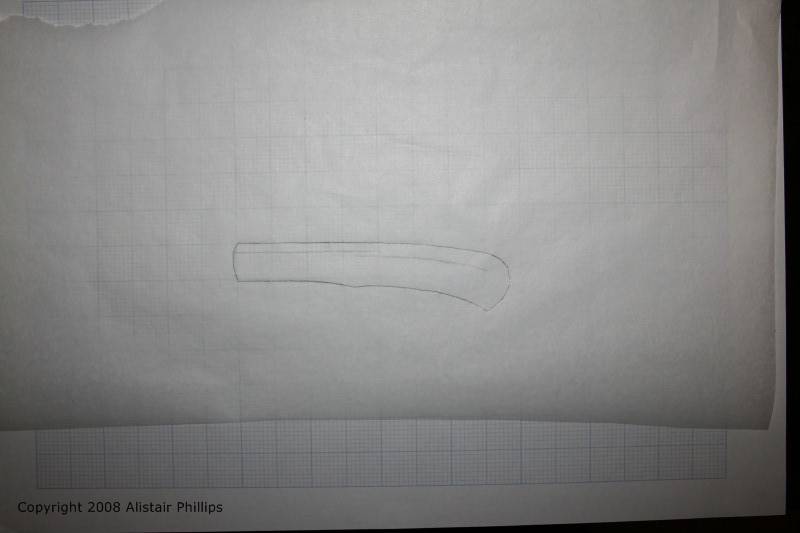
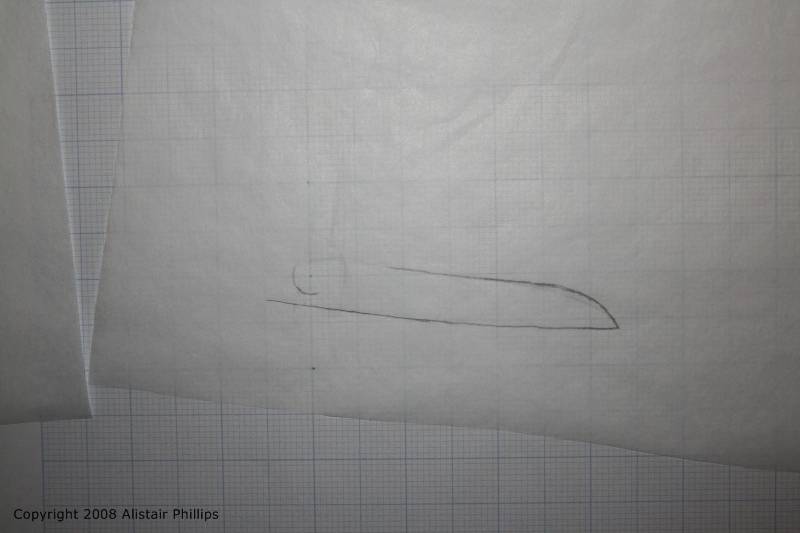
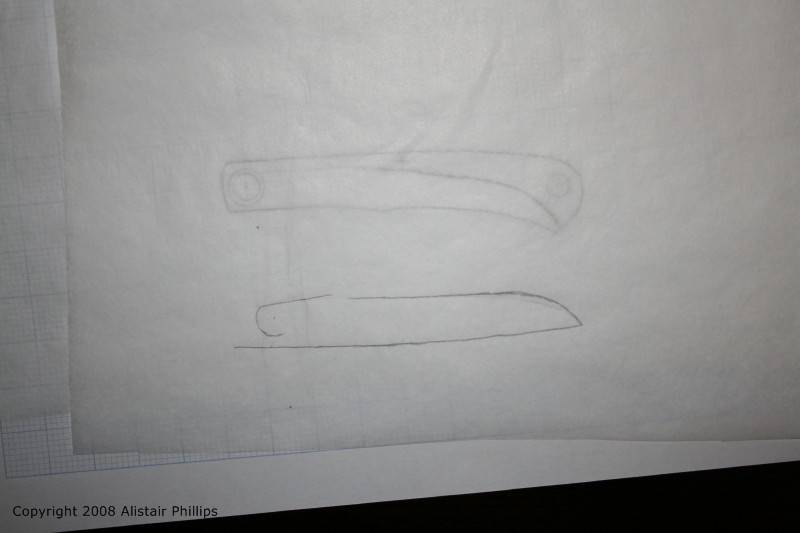
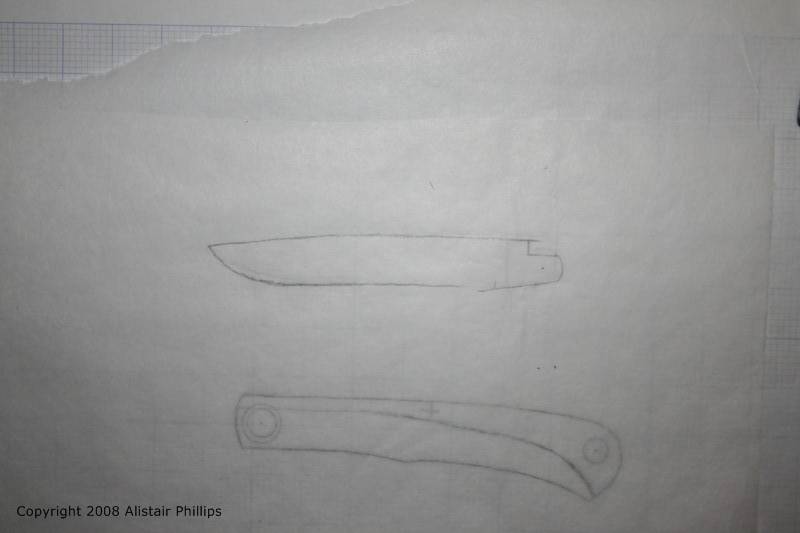
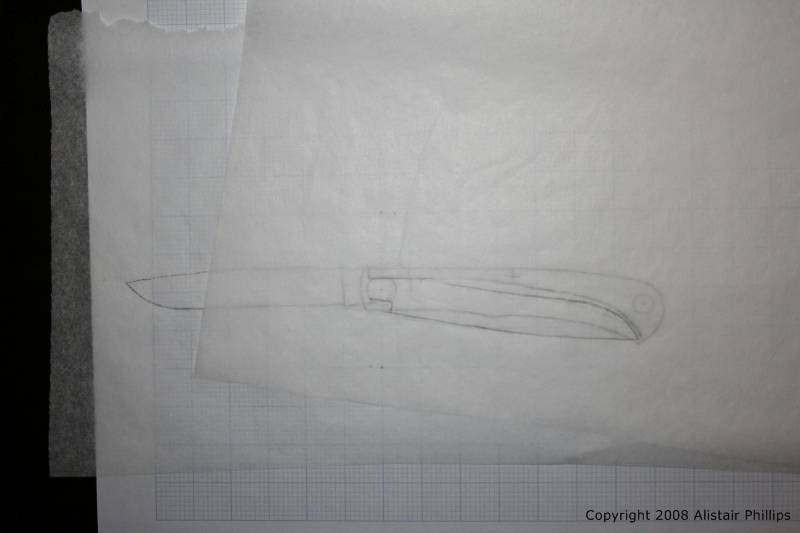
From my sketch I move to tracing paper. It would probably be a bit better to use something a little thicker but tracing paper was all I had at hand. I make 2 seperate tracings at this point one of the handle and one of the blade outline. It may be better not to draw the kicker onto the blade at this stage but instead to extend the blade further along as we will be adjusting the kicker location later on. I have also traced the blade further along the spine to help align things later when we are adjusting the open position of the blade.
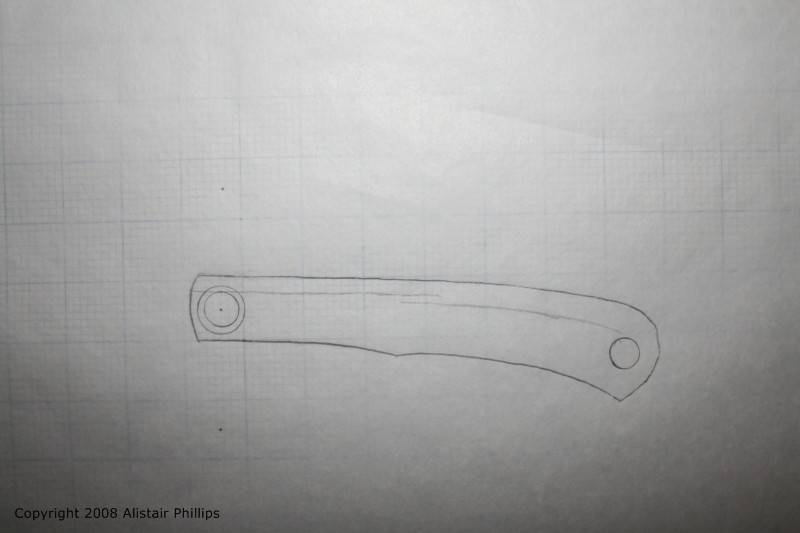
Now it is time to make space in the handle for the spring. The size of the spring will be determined by the length of the knife, the location of the pivot point, the temper of the spring and probably a bunch of other things. After asking on the forums it was recommended to start with 1/8 of an inch for a 3 inch blade and go thicker for longer blades. This is something that may be to be adjusted when you are building the knife. If the spring is to difficult to move then it is always possible to grind a bit off to make it thinner and easier to move. I draw a line by moving the tracing paper up a little further against the original sketch and use that edge to draw in the spring. At the same time I draw in the section of the spring after the pivot point allowing enough width for the pin that will hold the spring in places.
If there is anything else to fit in the handle draw it in now. We want to fit the blade around those things. I have drawn in the location and size of the thong hole tube here.
Now for the important things. From this stage on it is very important to keep things aligned correctly. I begin by drawing a circle that meets at the bottom edge of the spring. I also place a dot in the centre of this circle, this is our pivot point. I also place a dot 1 inch above and 1 inch below the pivot point. I align these with the corners on the grid paper I can see through the tracing. It can be helpful to put these 3 dots on the grid paper as well to help things line up. Once that is all done I draw a larger circle that will represent the radius of the tang. The amount this circle overlaps the spring is the amount that the spring will pushed up when the knife is opening and closing. I tried to make it half the height of the spring. I use a circle template to do all my circles, they are small enough that trying to do them with a compass is just an exercise in frustration.
Now for positioning the blade. Since we need to make sure the blade will fit inside the handle when it is closed I start the blade drawing by positioning it in the closed position. Once I have it in a position I like I will copy the 3 alignment dots to the tracing of the blade so I keep things aligned as I go on. Some things to keep in mind here are the point the the blade intersects with the spring will determine the location of the kicker and therefore where you will do the plunge cut into the ricasso of your knife. You want to make sure there is enough room to have a ricasso when the knife is open as well. Also if the spine of the blade is more than the height of your spring away from the spring it will have to be adjusted when we draw the blade in the open position. Since there was enough room I adjusted the profile of the tip of the knife at this point too.
I didn't capture and image of this but now you can move the blade tracing underneath the tracing of the handle and draw in the spring. Try to keep a small gap between the edge of the blade and the spring. I wasn't happy with how close the thong hole was to the edge of the spring so I erased it and I will move it to a different location.
Now that the spring is drawn I have erased the sketched in kicker we had before so that I can do the final version of that part of the tang.
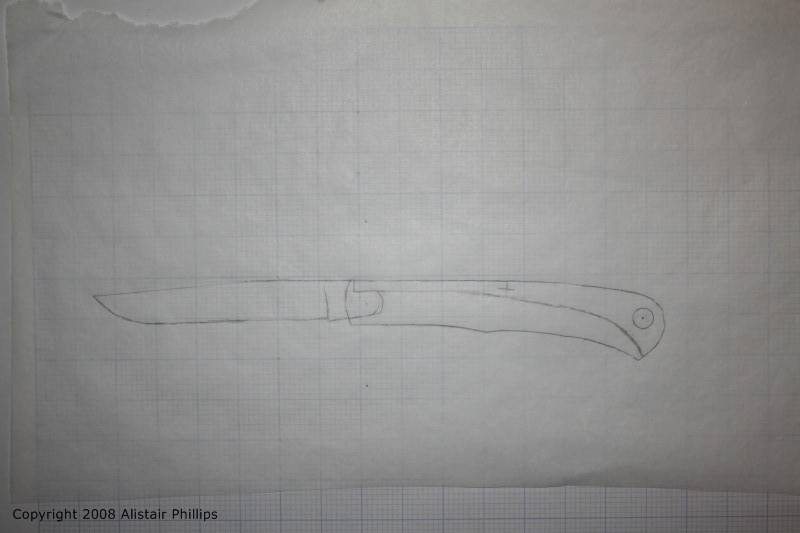
In this picture I have simply aligned the blade back above the handle and traced the spring onto the blade tracing and I have also drawn in the larger circle which will be the back edge of the tang. You can also see I have drawn in the new location of the thong hole tube and the pivot point of the spring. I just placed this mid way along the handle.
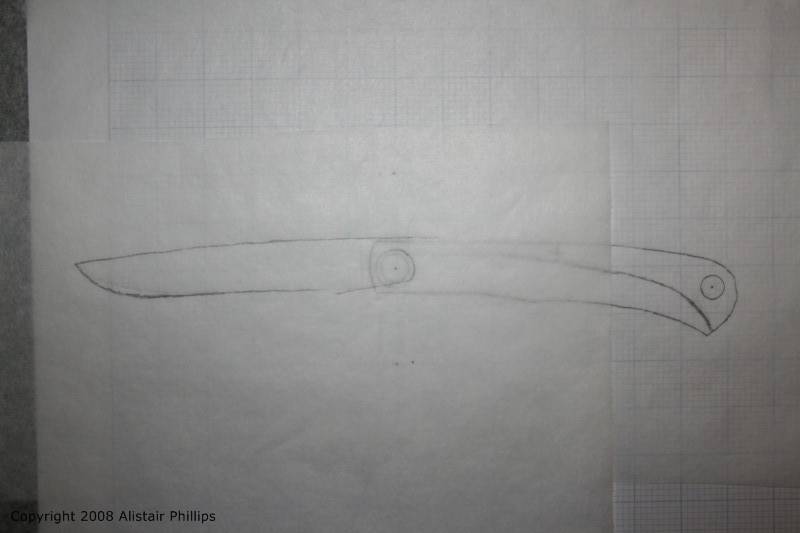
Now to design the knife in the open position. I try to align the spine of the blade with the back of the handle, now I am glad I added the extra length to the line I traced earlier. You can see in my design the blade didn't line up with the back of the handle so I am going to have to adjust my drawing. I just erased the spine of the knife and drew in a new one. At the same time I did 3 new dots to help keep the blade aligned to the handle when it is in the open position. With the blade in the open position we can see what the best point to locate the plunge cut will be and draw that in too.
Now that we have our blade design we can finish up the tang. We need to locate the point that the spring ends forward of the point it intersects with the larger circle earlier. That way when the knife is closed the bottom point of the tang won't be in front of the spring. You can draw this on both the tracing of the blade and handle.
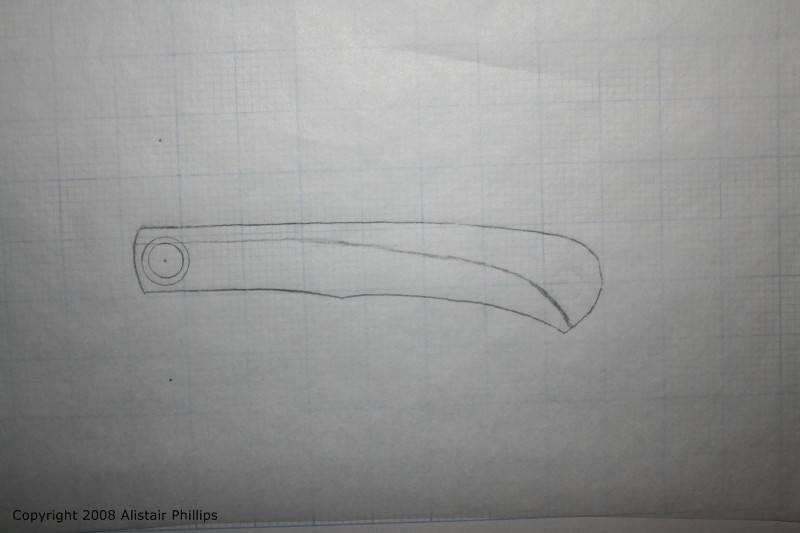
Now I align the blade underneath the handle tracing and trace the blade onto the drawing of the handle. This is the completed version of our knife. We could make several photocopies of it and trace them onto the steel ready to begin making this knife.
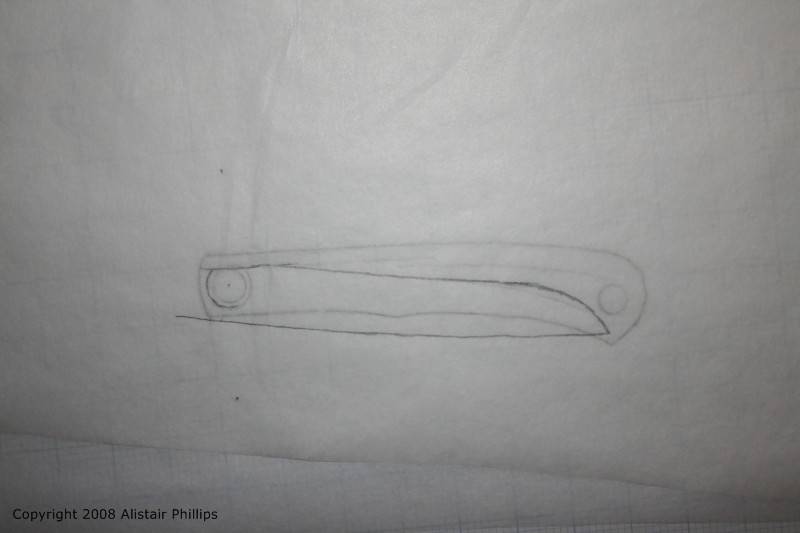
Before doing that it is worthwhile making sure everything is looking good when the blade is closed too.
I wasn't completed happy with the look of this knife. I thought it might be a better with more of a clip point blade so I went in a redrew the spine of the knife. As long as it doesn't influence any of the pivot points or the shape of the tang or the knife in the closed position small adjustments like this are fine to do.
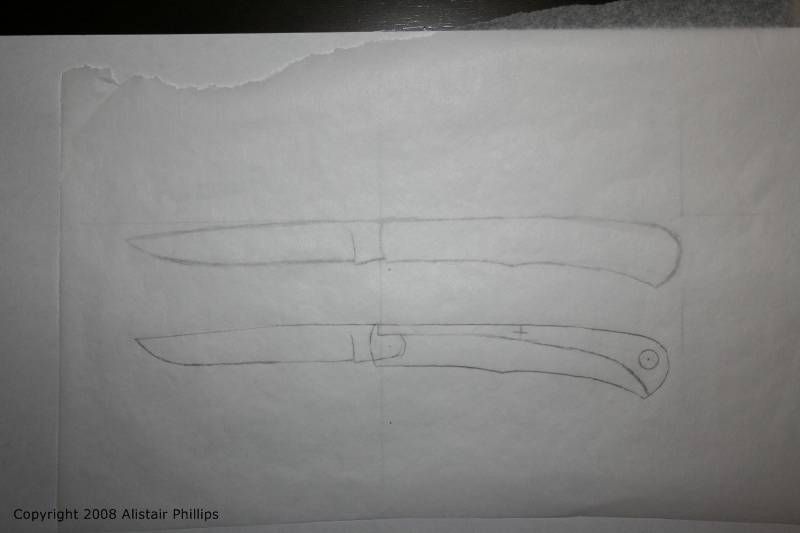
And here is our final design ready to go ahead and make compared to our original sketch.
Here is the final product. A nice shadow pattern pocket knife for every day carry.
